Copy data from Rest API to Azure Data Lake Storage Gen 2 using Azure Data Factory


This blog will see how to extract data from an open API using Azure Data Factory and copy the data to Azure Data Lake Storage Gen 2.
Prerequisites
- Azure Subscription
- Rest API
- Azure Data Factory Instance
- Azure Data Lake Storage Gen 2 Instance
We used the Department of Health and Mental Hygiene (DOHMH) New York City Restaurant Inspection Results data from NYC open data. DOHMH provide an Open API to their data.
Steps
Create a linked service for Rest API and Storage Gen 2
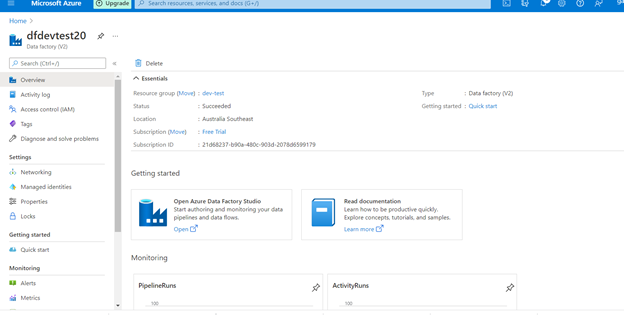
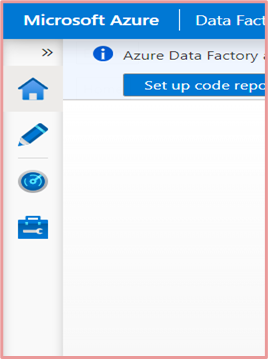
Open an Azure Data Factory Studio
Click the Manage icon and this will redirect to Linked Services
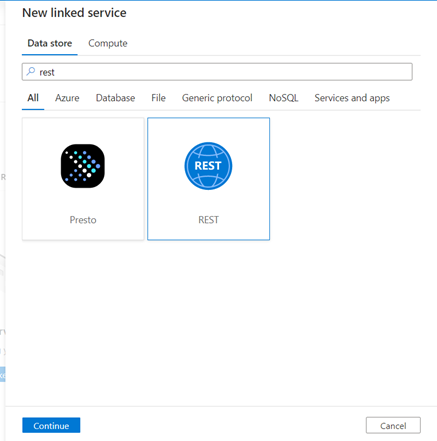
We need to create a new Linked service,
Source Linked service -> search Rest API connector -> select -> continue
Enter the below properties
- Name
- Base URL (Your Rest API Endpoint)
- Select a suitable Authentication Type (I selected Anonymous as this API doesn’t have any tokens). You can select the authentication based on your API.
- Test the Connection
- Click create
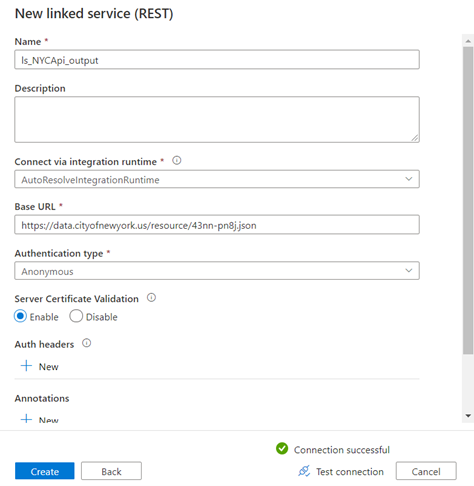
New linked service “ls_NYCApi_output” has been created
→ Create Storage gen 2 linked service
Source Linked service -> search gen 2 connector -> select -> continue
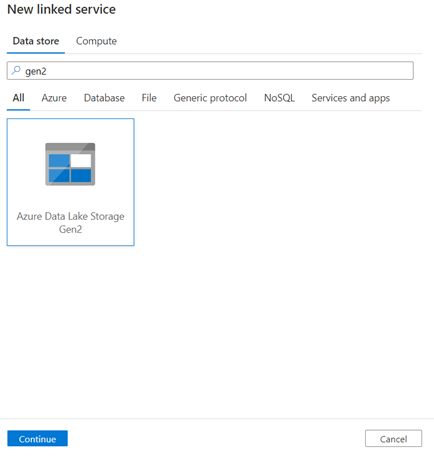
Enter the below properties
- Name
- Select Azure Subscription
- Select the storage name (You need to create a gen 2 instance before creating this linked service)
- Test Connection
- Click create
New linked service “ls_gen2_NYCApi_output” has been created.
2) Create a source and sink dataset
Our source dataset is the NYC data which comes from Rest API. A sink dataset is nothing but storing the data in the necessary destination. In this example, we are extracting the data from the API and store into the Data Lake storage gen 2.
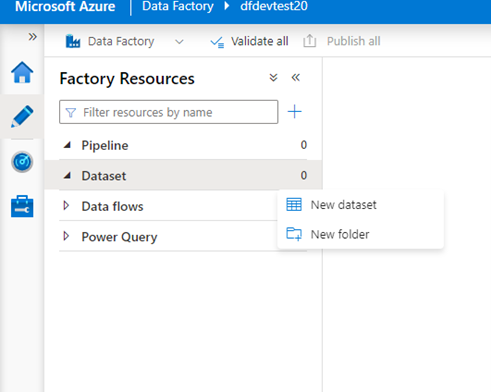
In order to create a source and sink dataset, we need to click the Author icon from the Azure Data Factory
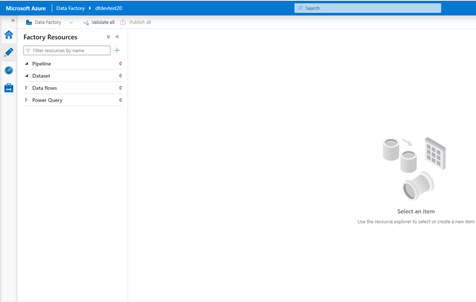
The next step is to click the new dataset
New dataset → search Rest API -> select – continue
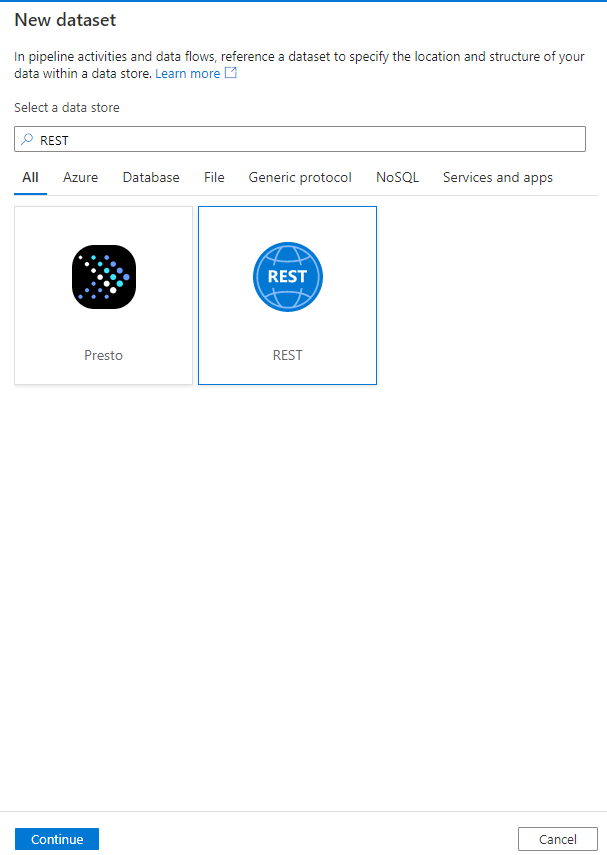
Enter the below properties
- Name
- Select the linked service (we need to select our rest API linked service which we created in the earlier steps “ls_NYCApi_output”
- Click OK
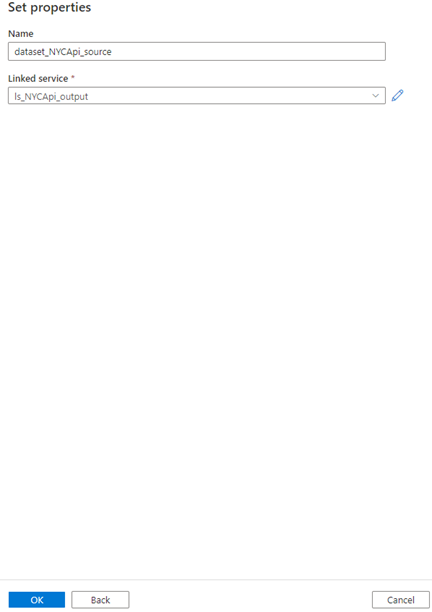
A source dataset has been created.
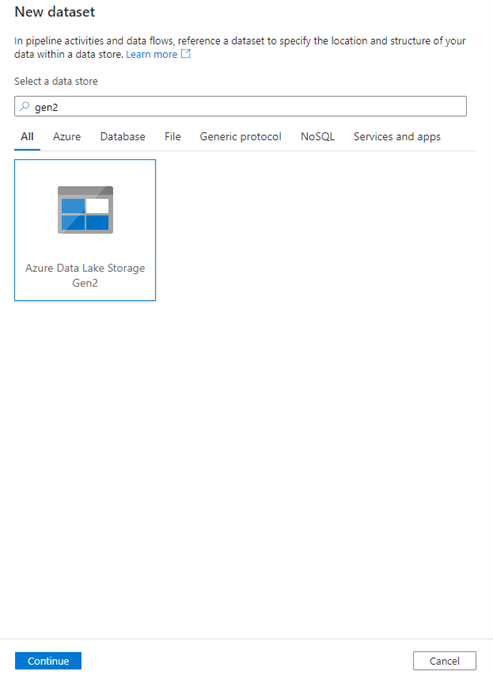
-> Now, we need to create a sink for storing our data in Gen 2. Again select the new dataset
New dataset → search Gen2 -> select – continue
This will redirect to a new window called “Select format” where we can select the format of our data to be stored in the Gen 2. We would like to store it as a csv file. In simple terms, we are extracting data from Rest API and storing the data into Gen 2 as a CSV file.
By default, data factory supports Binary, Excel, XML, Parquet, ORC, CSV, Json formats. You can select the format based on your requirement. We select CSV and click continue
Enter the below properties
- Name
- Select the linked service (we need to select our gen2 linked service which we created in the earlier steps “ls_gen2_NYCApi_output”
- Select the file path -> we need to create a folder in gen 2 before proceeding with this step. We created a folder called “nyc” in our gen 2 and selected the same. So our CSV file is stored in the nyc folder in Gen 2. Give the name of the file you want to store (saved as “nyc.csv”)
- Select the First row as the header
- Click OK
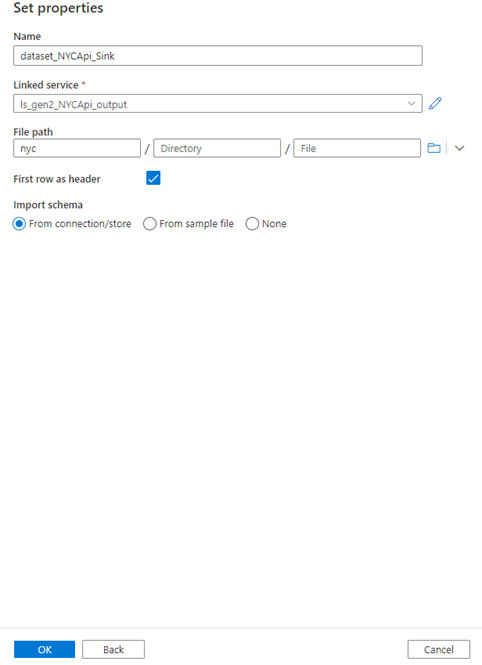
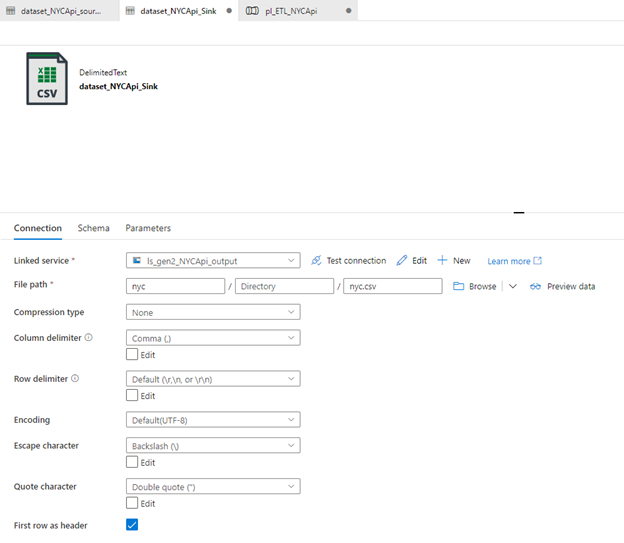
A sink dataset has been created
Now in the sink dataset properties, we need to give the file name for our data. We name the file “nyc.csv”
3) Create a Pipeline
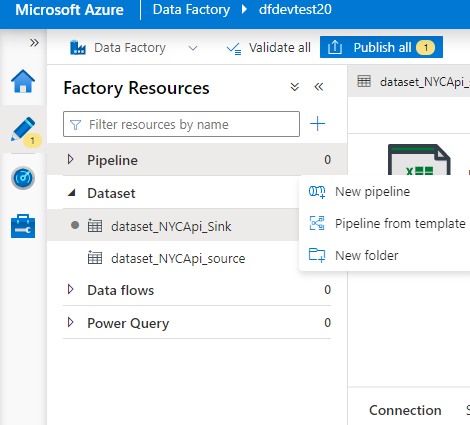
Click new pipeline
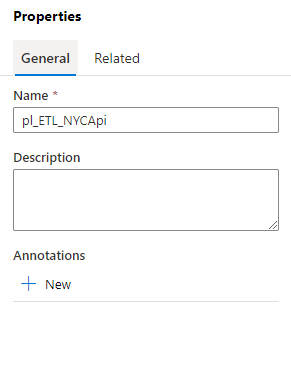
Enter the below property
- Name ( pl_ETL_NYCApi)
Click move & transform -> drag copy data into the pipeline
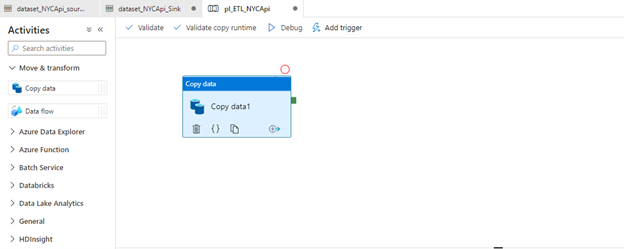
Click the dragged copy data and it shows the below tabs in the down
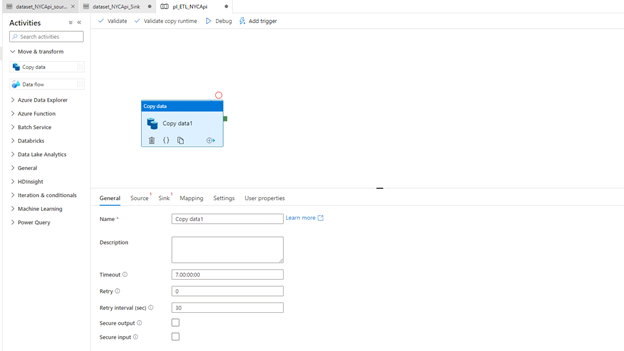
We are going to work on the General, Source, Sink, Mapping tabs in this example.
Enter the name of the copy data (“we gave “Extract_NYCApi”)
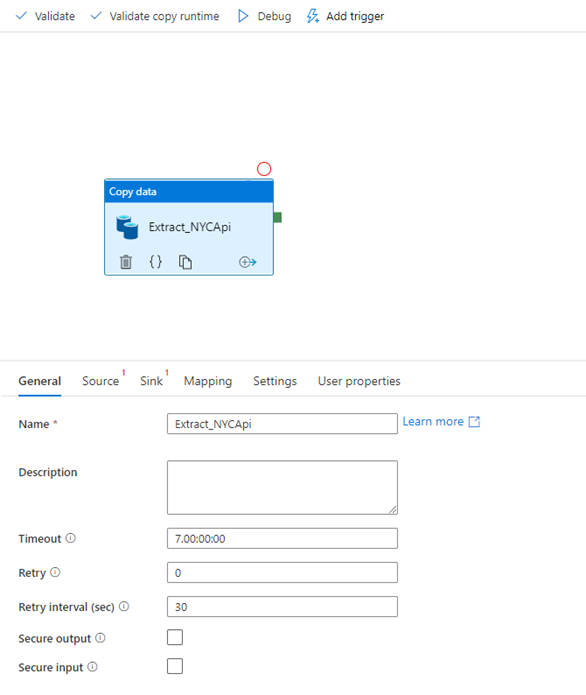
Leave the other properties default
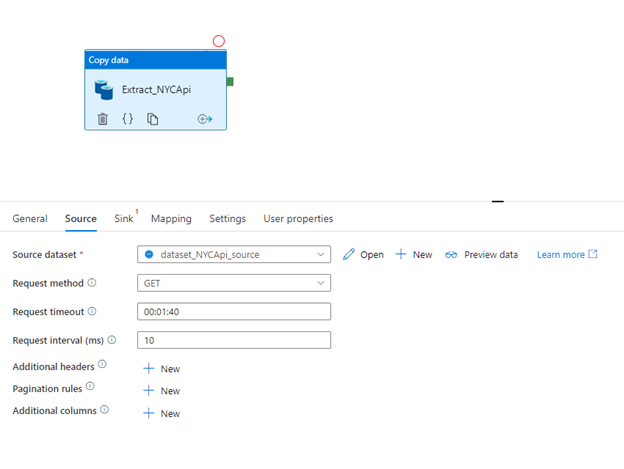
Source Tab
- Click the source tab and select the source dataset. Here, we need to select our Rest API Source dataset called “dataset_NYCApi_source” which we created in the above steps.
- Select the GET method in the Request method, as we are extracting the data from the API
- You can change the time out but we leave it as it is in this example.
- We leave other properties as it is as we use the open API here. If your API has headers, paginations, you can change other properties
- In the final step, click the preview data to check the data
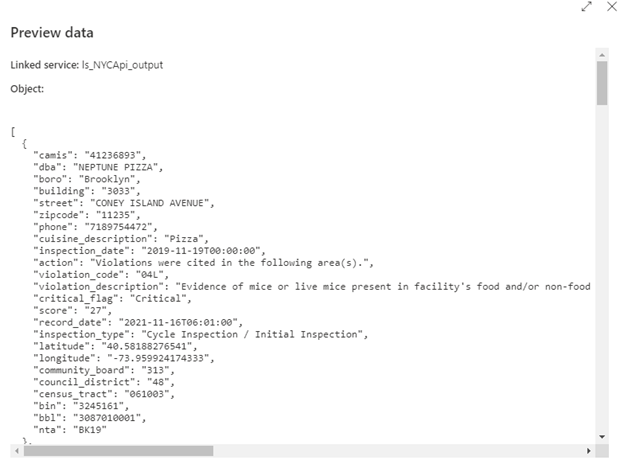
We can see the data in the preview data tab
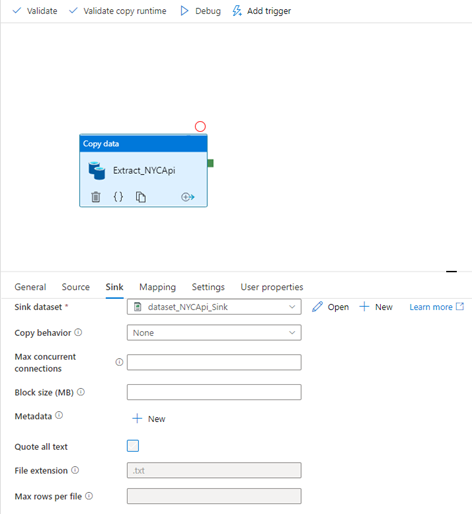
Sink Tab
Click the sink tab and select the sink dataset. Here, we need to select our Gen 2 Sink dataset called “dataset_NYCApi_Sink”
Mapping Tab
In the mapping tab, click Import Schemas. This imports the exact JSON structure of our Rest API. It displays the entire attributes of the data. You can select/unselect at any point the attributes that you don’t want to copy. We need to select the data type before completing this step. Just for this example, we selected strings for all the attributes.

4) Running the Pipeline
Click debug to run the copy activity in the pipeline
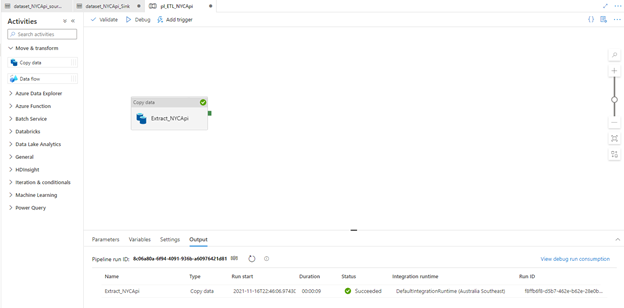
In order to check whether our pipeline is successful or not, we need to see the status in the output window. Status shows succeeded -> that means our data has successfully copied to gen 2.
Copy activity has finished. Data has been extracted from API and successfully copied into gen 2 as a CSV file (“nyc.csv)
5) Checking the Gen 2 Storage
Final step -> go to your data lake storage gen 2 and check the CSV file. Our “nyc.csv” file has been created under NYC folder

Click nyc.csv and select edit to see the preview of the file
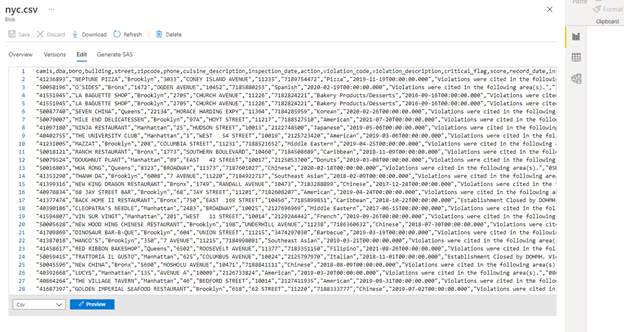
CSV file has been created successfully and you can directly download the file or you can connect to any BI tools to make a report.